
No sound on the computer? This guide offers solutions to fix it. Find common causes, quick checks, and advanced fixes.
In This Article:
- Common Causes of No Sound
- Quick Checks to Perform First
- Restarting and Troubleshooting Audio Services
- Updating and Reinstalling Drivers
- Disabling Audio Enhancements
- Advanced Solutions for Persistent Problems
- Preventing Future Audio Issues
Key Takeaways
- Common causes of sound issues include incorrect configuration, outdated drivers, and hardware problems like faulty audio jacks or sound cards.
- Start troubleshooting by verifying volume settings, checking device connections, and ensuring the correct audio output device is selected.
- If basic solutions fail, consider restarting audio services, updating or reinstalling drivers, and disabling audio enhancements for persistent problems.
Common Causes of No Sound
Before attempting to resolve any issues with silence, it is critical to identify the possible root causes. Sound issues often stem from incorrect settings in audio configurations. At times, enhancements intended for improving audio quality may actually lead to unusual disruptions instead. Sound might be compromised by outdated drivers that impede the proper function of your audio devices.
Issues with hardware stand as a notable cause too. If you have a defective sound card or an impaired audio jack, they could result in total absence of sound output. Audio problems can also arise if there’s a loose connection or improper installation of your computer’s audio components. External speakers not configured correctly can face troubles if their respective settings aren’t adjusted properly on your device—similarly causing concerns over sound functionality when software conflicts occur due to incompatible applications affecting normal operations.
Having knowledge about these prevalent factors assists tremendously in pinpointing and tackling the underlying problem behind auditory complications effectively. By performing some straightforward checks initially described hereafter, it should help expedite the restoration process for recovering lost sounds efficiently.
Quick Checks to Perform First
Before engaging in complicated troubleshooting methods, it is prudent to try easy fixes that can frequently solve audio issues. A system reboot may often rectify the sound settings and alleviate the problem.
Make sure you check your computer’s volume controls to confirm they are set properly. An X next to the speaker symbol indicates that the volume on your PC has been silenced. Check if you have chosen the right output device and verify that the volume level is sufficiently high. If these settings appear correct yet there is no audio, it could be necessary to examine whether your audio device is connected properly.
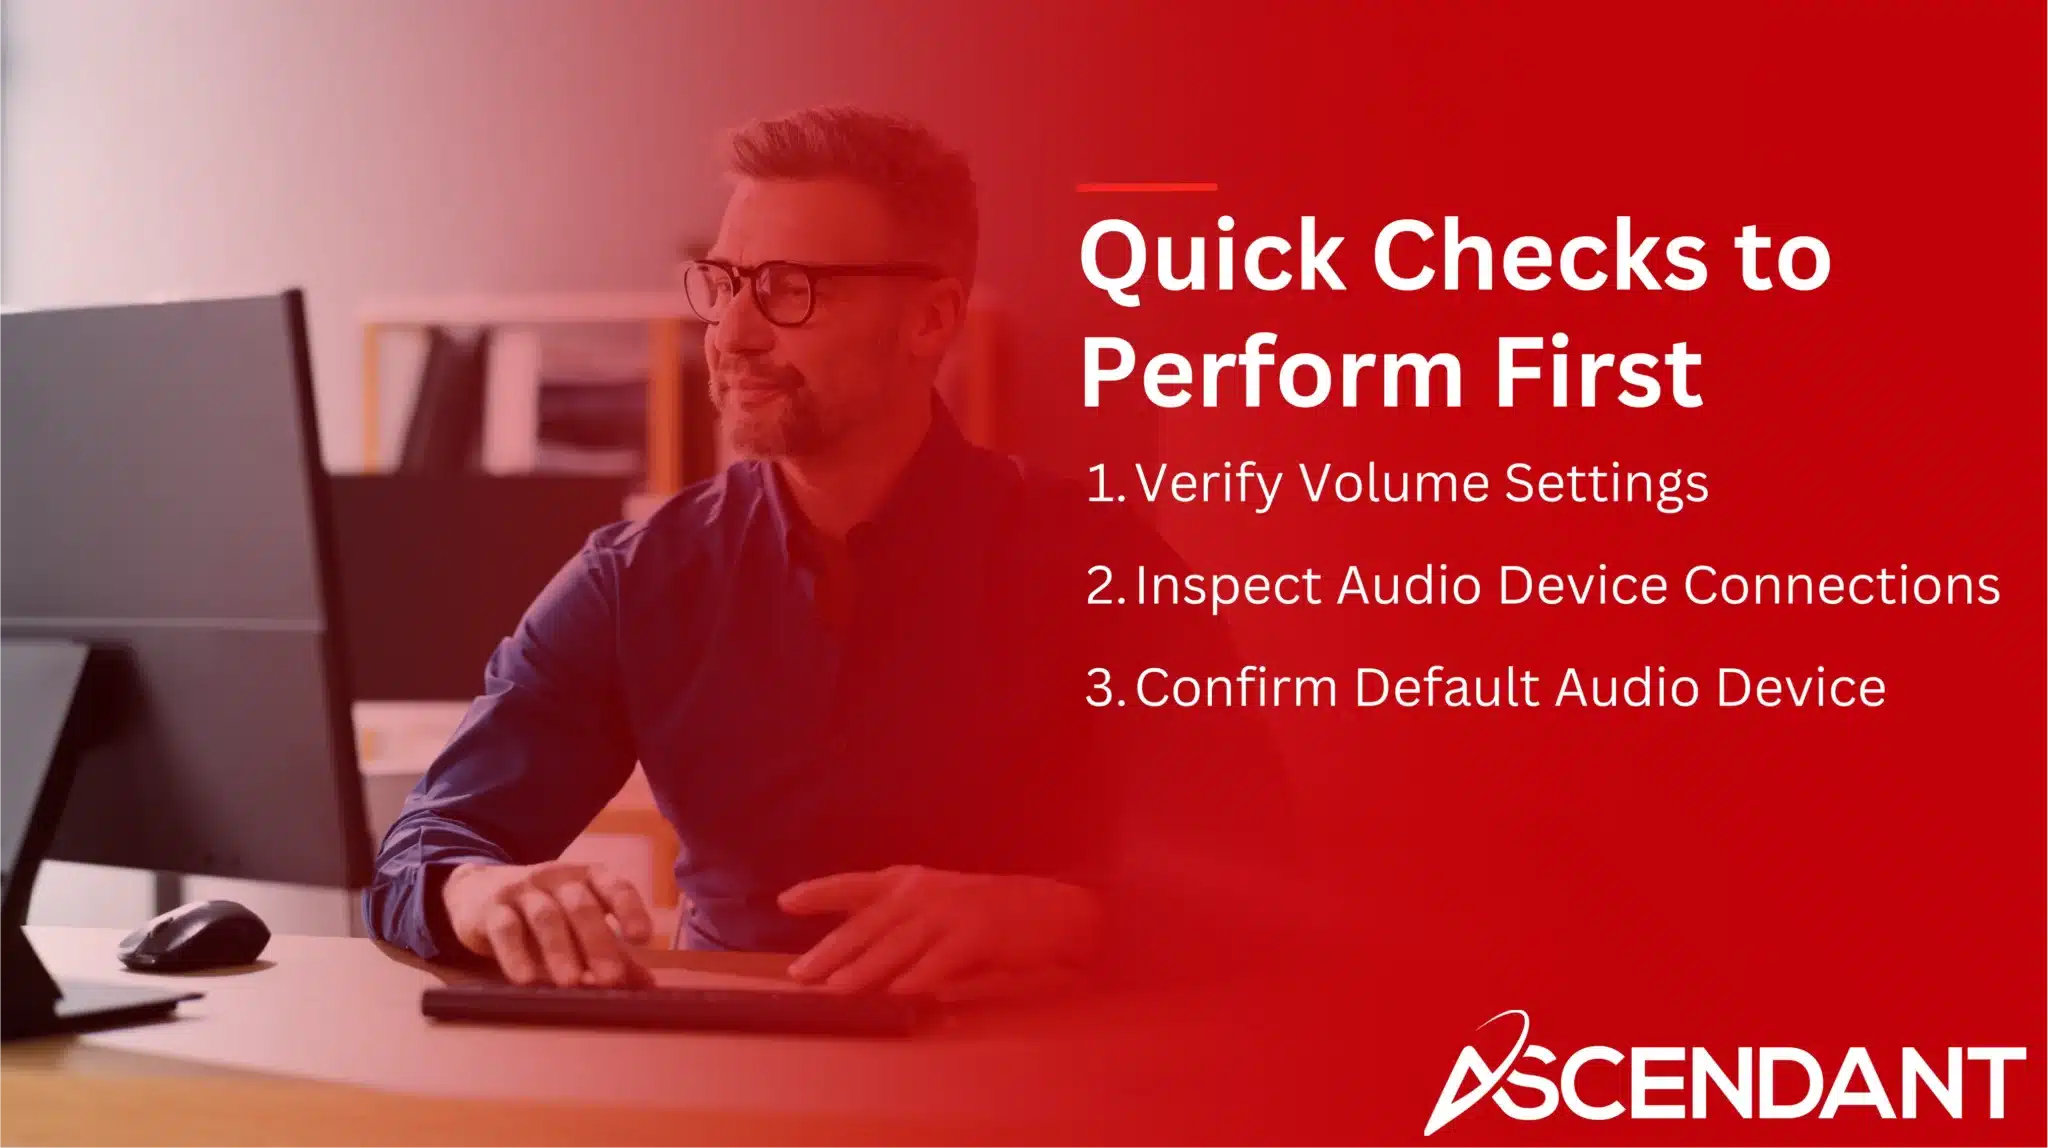
Verify Volume Settings
Audio issues often stem from improper volume settings. Ensure that audio levels are sufficiently raised, and no devices have been muted within the sound settings. You can reach these settings by right-clicking on the speaker icon located in your taskbar and selecting Open Sound settings.
For adjusting volume, navigate to the system tray at the bottom-right corner of your screen and find the speaker icon. Right-click this Speakers icon on your taskbar, then click on the settings symbol next to the Volume mixer slider for accessing its specific controls. Verify that all changes made here are applied so that audio operates smoothly, remembering to save any relevant adjustments you make.
Inspect Audio Device Connections
Ensure that each audio cable and mm jack is firmly connected and inserted into the appropriate ports. To test if the speakers are operational, disconnect any headphones. Employing premium cables and connections can reduce the likelihood of experiencing interference or a loss in audio signal.
Position speakers at a distance from other electronic devices to mitigate interference which could degrade audio performance.
Confirm Default Audio Device
Ensure that the proper audio device is chosen as the default for speaker output by clicking on the speaker symbol and examining additional sound settings.
If you need to modify which audio device is set as the default, right-click on the speaker icon, navigate to Open Sound settings, pick an audio device under the Playback tab, and then click on Set Default Device.
Restarting and Troubleshooting Audio Services
Often, rebooting the audio services is sufficient to fix numerous sound issues. The critical components for sound operation in Windows are the Windows Audio service and the Windows Audio Endpoint Builder service. Resetting these services can rectify problems that might not be solved by other methods.
Now, let’s explore how we can reset these key services and utilize the integrated Windows Audio Troubleshooter to apply automated solutions.
Restart Windows Audio Services
Restarting the Windows Audio and Windows Audio Endpoint Builder services can effectively troubleshoot audio issues. Access the services menu in Windows to restart audio services.
Restart the Windows Audio Endpoint Builder service alongside the audio windows endpoint builder service for comprehensive troubleshooting.
Use Windows Audio Troubleshooter
To address common audio problems on Windows devices, you can utilize the automated solutions offered by the Windows Audio Troubleshooter. Access this feature by following these steps: go to Windows Start, select Settings, choose System, click on Sound and then hit the Troubleshoot button. This tool is designed to automatically identify and resolve issues pertaining to sound output.
In windows 11 sound settings for assistance with sound settings and potential audio issues, consider using the Get Help app which has a capability of running an audio troubleshooter as well.
Updating and Reinstalling Drivers
Outdated or corrupted drivers are often the root cause of sound problems. Updating audio drivers can resolve many issues. Rolling back the audio driver to a previous version can help if issues arise after a Windows Update. If updates don’t work, you might need to reinstall the drivers.
Let’s explore the steps to update and reinstall audio drivers effectively.
Update Audio Drivers
Outdated or damaged audio drivers frequently cause sound problems. Use Device Manager to check for updates and ensure your sound drivers are current. You can check for and install updated drivers using Device Manager, which allows both automatic and manual updates.
For certain audio devices, such as the IDT High Definition Audio CODEC, you may need to manually update the audio driver in device. Open Device Manager, expand ‘Sound, video and game controllers’, and look for the IDT CODEC to check its status. Use Device Manager to select and update the IDT High Definition Audio CODEC driver from available drivers.
Restart your PC after installing updates, then check if the sound is functioning properly.
Reinstall Audio Drivers
Should the update of drivers not rectify your problem, it might be beneficial to uninstall and then reinstall them. This can be achieved through Device Manager by removing the existing driver and proceeding with a fresh installation. In instances where locating particular drivers proves challenging, inputting ‘device manager’ will allow you to employ generic drivers throughout this procedure. For additional choices pertaining to driver software, consider exploring the Dell Drivers and Downloads page.
After completing the reinstallation of drivers, rebooting your computer is recommended as a means to confirm that all components are functioning properly.
Disabling Audio Enhancements
At times, sound output can be negatively affected by audio enhancements, which may cause a range of problems. To turn off these enhancements, you should right-click the speaker icon and access Sound settings. Once there, navigate to the Playback tab, click on properties and uncheck the box for enhancements.
Turning off audio enhancements is often a reliable solution for resolving sound issues because these features could potentially be causing them.
Advanced Solutions for Persistent Problems
If previous steps don’t resolve your audio issues, consider advanced solutions like BIOS updates and hardware checks. Ensure audio devices are correctly plugged in by testing with a different USB port if needed.
Use built-in diagnostic tools available on some Dell laptops and desktops for checking audio hardware.
Update BIOS
BIOS settings may need to be adjusted if sound problems occur. Audio output can be affected by BIOS issues. It’s important to check the BIOS settings if you encounter audio problems. A BIOS update may be required to address hardware incompatibility issues or software updates.
Updating the BIOS is an advanced step for persistent audio issues.
Test with External Audio Devices
Examining the functionality of external audio devices, such as headphones and microphones, can assist in detecting possible hardware issues.
Malfunctions involving speakers or audio jacks may interfere with the sound output.
Preventing Future Audio Issues
Preventing future audio issues ensures a smooth audio experience. Regularly updating audio drivers helps avoid compatibility issues. Conducting routine checks of sound settings prevents many audio issues.
Implementing proactive maintenance, such as ensuring connections are secure, can avert sound problems.
Summary
To tackle audio problems, a series of swift checks and methodical troubleshooting techniques should be employed, along with preventative strategies. This guide presents a comprehensive approach to identifying and fixing various sound issues. It encompasses checking volume levels through to updating your system’s BIOS — each measure aimed at maintaining flawless audio functionality.
It is crucial to engage in regular maintenance activities to avoid encountering future complications with your sound setup. Regularly update your drivers, examine connection integrity frequently, and consistently review your sound settings as part of routine upkeep. By adhering to these habits, you can expect an unblemished auditory experience without interruptions.
 Frequently Asked Questions
How do I check if my audio device is set as the default?
You can easily check if your audio device is set as default by right-clicking the speaker icon, selecting “Open Sound settings,” and then looking in the Playback tab to see if your device is set as default.
If it’s not, just click on it and choose “Set Default.”
What should I do if my audio drivers are outdated?
You should check for and install updated audio drivers using Device Manager. If needed, manually update drivers like the IDT High Definition Audio CODEC for the best performance.
How do I disable audio enhancements?
You can easily disable audio enhancements by right-clicking the speaker icon, going to Sound settings, selecting the Playback tab, and then unchecking the enhancements in the properties.
Give it a try for a clearer sound experience!
What is the Windows Audio Troubleshooter?
The Windows Audio Troubleshooter is a handy built-in tool that automatically fixes common audio problems. You can easily access it by going to Start > Settings > System > Sound > Troubleshoot.
How can I test if my internal audio hardware is faulty?
You can check if your internal audio hardware is faulty by connecting external devices like headphones or speakers.
If the sound works with them, then the issue likely lies with the internal hardware.