
Need to reformat your hard drive? This guide shows you how to reformat a hard drive safely on Windows and Mac. You’ll learn how to back up data, choose the correct drive, and complete the process without issues.
In This Article:
- Preparing to Reformat Your Hard Drive
- Reformatting a Hard Drive on Windows
- Reformatting a Hard Drive on Mac
- Formatting External Drives
- Secure Erase Options
- Common Issues and Troubleshooting
Key Takeaways
- Before reformatting a hard drive, it is essential to back up existing data and identify the target disk to prevent accidental data loss.
- The reformatting process differs for Windows and Mac, with users utilizing Disk Management on Windows and Disk Utility on Mac to format hard drives.
- Secure erase options, both built-in and third-party software, are recommended to ensure sensitive data is permanently removed from drives before disposal or repurposing.
Preparing to Reformat Your Hard Drive
Proper preparation of your hard disk is essential before starting the reformatting process. This involves two key steps: backing up existing data and identifying the target disk.
These steps ensure that you don’t lose any important files and that you reformat the correct drive, avoiding any accidental data loss.
Back Up Existing Data
Backing up your data is the first and most important step before reformatting your hard drive. Skipping this could mean losing important documents, photos, and music. To prevent such a nightmare, ensure you have a reliable backup solution in place. This could be an external hard drive or cloud storage.
Carefully review and document your current data setup to make sure all critical files are accounted for. Remember, reformatting a drive will erase all existing data on it, so back up any data you want to save.
Identify the Target Disk
Ensure that you accurately pinpoint the appropriate disk for formatting to prevent accidental loss of data. Look for the intended disk in your computer’s file explorer or within a disk management tool, which is crucial when dealing with several connected hard drives or external drives. In instances where partitions are corrupt or cannot be accessed, verification that the operating system has correctly identified the disk is imperative.
Should there be an issue with detection of the disk, consider potential issues such as an improper connection or misconfigured drive settings within the BIOS.
Reformatting a Hard Drive on Windows
In Windows, when you need to reformat a hard drive, there are multiple steps you must follow. These include opening the Disk Management tool, deciding whether to perform a quick or full format on your disk, and setting up the drive for new data.
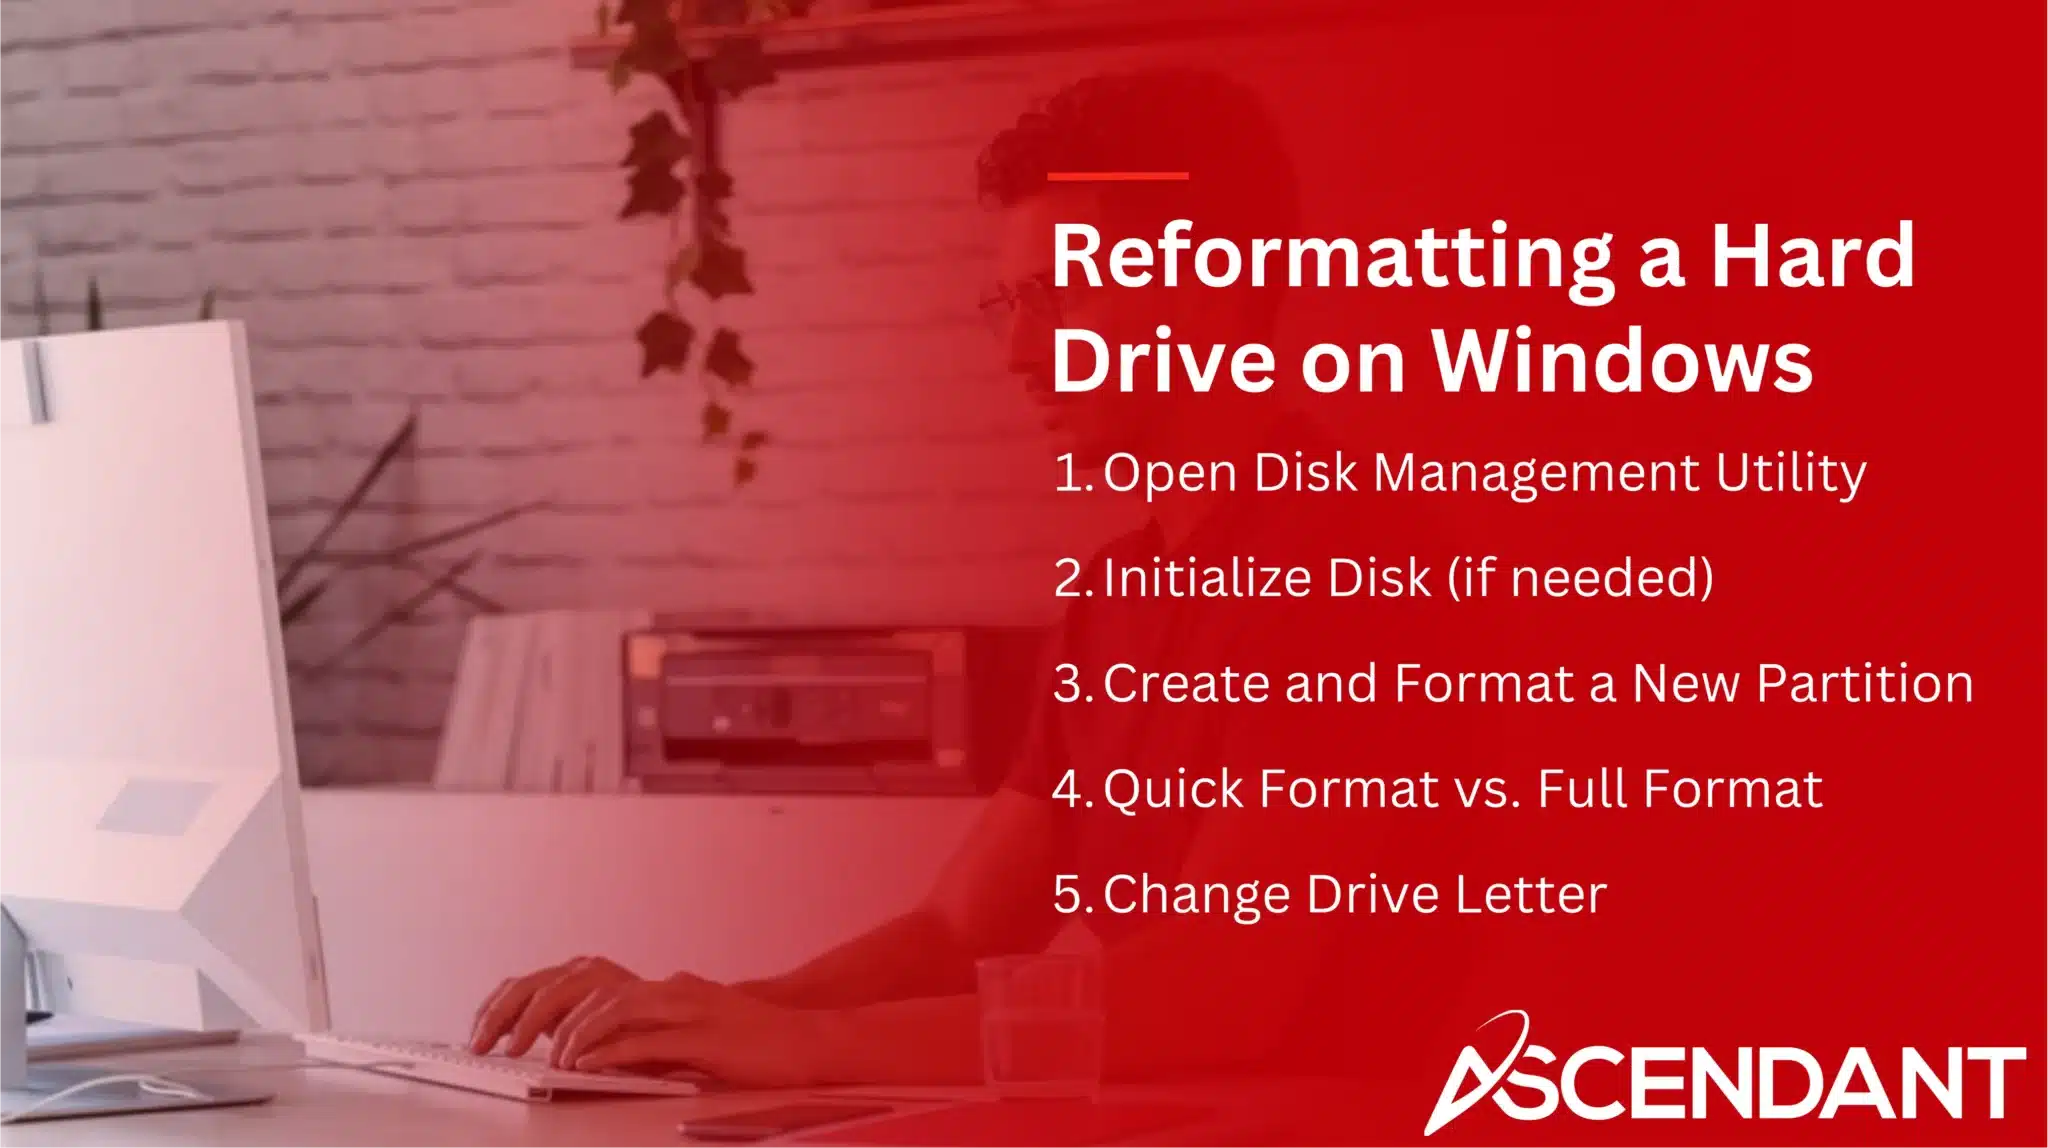
Open Disk Management Utility
To start reformatting on a Windows PC, you need to access the Disk Management tool. You can do this by right-clicking the Start button and choosing Disk Management from the dropdown menu that appears or by searching for ‘Disk Management’ in the Start menu. Alternatively, type ‘diskmgmt.msc’ into the Run dialog box.
Once you open this utility, it provides you with administrative capabilities to oversee your hard drives and their partitions.
Initialize Disk (if needed)
If you have a new or previously undetected disk, it may need to be initialized before you can format it. Open the Disk Management interface, then right-click on the desired disk and select ‘Initialize Disk.’’
Be aware that when you initialize a disk, all current data will be removed. This action should only be carried out on a brand-new disk or one that doesn’t contain any important information.
Create and Format a New Partition
To create and format a new partition on the disk after initialization, right-click the unallocated space and choose ‘New Simple Volume’. Proceed with the wizard, defining the size of your partition as well as selecting a file system type like NTFS or FAT32.
When you’ve chosen a name for your drive along with its format type, hit ‘Erase’ to complete the formatting process. This action will remove any existing files on that volume permanently.
Quick Format vs. Full Format
Your choice between a quick format and a full format depends on your needs. Quick format is faster, creating a new file table without fully overwriting the volume label, while a full format erases all data and checks for disk errors.
Use a quick format for faster processing when thoroughness isn’t required, and opt for a full format when you want to ensure there are no errors and completely erase all data. Quick formatting can be beneficial in these scenarios.
Change Drive Letter
In order to prevent any interference with other drives, it is advisable to alter the drive letter. Simply right-click on the partition within Disk Management and opt for ‘Change drive letter and paths’.
Selecting a different drive letter that isn’t already in use by existing drives will help maintain uninterrupted access and circumvent possible complications.
Reformatting a Hard Drive on Mac
The process of reformatting a hard drive on a Mac requires the use of Disk Utility. You will be directed on how to access this tool, choose the appropriate format settings, and finalize the reformatting procedure.
Open Disk Utility
To manage and reformat your hard drives and external drives on a Mac, launch Disk Utility by using Spotlight search. You can do this by pressing Command + +. Space, typing ‘Disk Utility’, and then pressing enter to open the application.
Select Format Options
Disk Utility offers various format options like macOS Extended, APFS, and ExFAT. A Full Format deletes all data and scans for bad sectors, while a Quick Format clears the file system structure without checking.
Choose the appropriate format based on your needs, considering factors like compatibility and security.
Complete the Formatting Process
Choose the preferred file system format for your disk and assign a name to it, then proceed by clicking ‘Erase’ within Disk Utility. This action will initiate the reformatting of the drive, and upon completion, select ‘Done’.
It is crucial to verify that you have selected an appropriate different file system format before concluding this process in order to prevent potential problems.
Formatting External Drives
This section delves into the process of formatting external drives, similar to how internal drives are formatted, but with a focus on ensuring cross-compatibility between Windows and Mac operating systems. It provides detailed steps for both setups, enabling you to successfully format your external drives irrespective of which system you use.
Format External Drives on Windows
To format an external drive on Windows, access Disk Management by right-clicking the Start button and selecting ‘Disk Management’. Right-click the external drive and choose ‘Format’ to begin.
Follow the prompts to select the file system and complete the formatting.
Format External Drives on Mac
On a Mac, open Disk Utility from Applications, select the external drive, and click ‘Erase’. Choose the appropriate file system like APFS, Mac OS Extended, or ExFAT, based on your compatibility needs.
Complete the formatting by clicking ‘Erase’.
Secure Erase Options
Protecting sensitive information is of utmost importance, and securely erasing data ensures that it remains irrecoverable.
In this segment, we explore the range of options available for secure data elimination, including integrated tools as well as external software applications.
Using Built-in Tools
Windows and Mac both offer built-in tools for secure erasing. Windows includes features like ‘Clear Disk’ and the ‘cipher’ command to overwrite data with zeros.
Mac’s Disk Utility offers a secure erase option, allowing users to choose the number of overwrites for added security.
Third-Party Software
Third-party software such as DBAN and EaseUS BitWiper provides dependable solutions for advanced secure deletion techniques. By utilizing zero-fill and random fill methods, these tools guarantee that data is irrevocably erased from the free space.
Such tools play a vital role in safeguarding confidential information prior to discarding or reassigning a hard drive for different uses.
Common Issues and Troubleshooting
Despite meticulous preparation, problems such as a disk not being recognized or formatting issues may occur during the reformatting process. This section provides guidance on how to troubleshoot these common complications effectively.
Disk Not Recognized
If your disk is not recognized, try unplugging and reconnecting it or changing the USB port. Check the data cable connection if the hard drive spins but isn’t detected.
For disks marked as Offline, right-click and choose the Online option to bring it back online.
Unable to Format
Issues preventing disk formatting could stem from permissions, bad sectors, or malware. Use tools like Chkdsk to check for errors and ensure successful formatting.
Interruption in the formatting process may require starting over after resolving any underlying issues.
Summary
The process of reformatting a hard drive can be straightforward when approached correctly. Ensuring that your data is safely backed up, selecting the appropriate disk to format, and executing the reformatting procedure tailored for Windows or Mac will facilitate an effortless changeover. Taking measures by formatting external drives and securely wiping away data boosts one’s proficiency in handling storage devices.
Keep in mind, if your objective is to rejuvenate a device with a clean slate, prepare a new hard drive for use or eliminate confidential data beyond recovery—adhering to this instructional guide empowers you to accomplish these tasks with certainty. Seize command over your storage devices by harnessing this critical knowledge today!
 Frequently Asked Questions
Why is it important to back up my data before reformatting?
Before initiating the reformatting process, it is essential to create a backup of your data. This step ensures that you do not permanently lose vital information since reformatting will thoroughly wipe out all existing files on the system.
By prioritizing the backup of your data, you facilitate an easier shift to a system that has been freshly formatted.
How do I open Disk Management on Windows?
To open Disk Management on Windows, right-click the Start button and select ‘Disk Management’ from the context menu, or search for ‘Disk Management’ in the Start menu.
What’s the difference between a quick format and a full format?
A quick format efficiently creates a new file table without completely overwriting the disk, whereas a full format thoroughly erases all existing data and checks for errors on the disk.
How can I securely erase data on my hard drive?
To effectively wipe out data from your hard drive, you can use built-in functions like ‘Clear Disk’ in Windows or the secure erase feature found within Mac’s Disk Utility. If you prefer, third-party applications such as DBAN or EaseUS BitWiper are also reliable options for achieving secure and thorough results.
What should I do if my disk is not recognized?
If your disk is not recognized, you should unplug and reconnect it, try a different USB port, or check the data cable connection.
Additionally, consider bringing the disk online in Disk Management to resolve the issue.