Port forwarding is crucial for tasks like gaming, remote access, and improving device connectivity. This guide will walk you through how to port forward, from setting up a static IP to configuring your router, ensuring a smoother and more reliable connection.
In This Article:
- Understanding Port Forwarding
- Setting Up a Static IP Address
- Steps to Port Forwarding
- Port Forwarding on Different Routers
- Verifying Open Ports
- Port Forwarding for Gaming Consoles
- Troubleshooting Port Forwarding Issues
- Security Considerations
- Advanced Port Forwarding Techniques
- Using Dynamic DNS for Easier Access
Key Takeaways
- Port forwarding creates a direct communication line between your router and a specific device, improving data transfer speeds for applications like gaming and remote access.
- Setting up a static IP address is essential before configuring port forwarding to ensure that the device’s IP doesn’t change and disrupt your settings.
- Always verify that your port forwarding setup is functioning correctly and consider security measures, as open ports can expose your network to vulnerabilities.
Understanding Port Forwarding
Port forwarding involves configuring a router to allow data transfer through a specific port directly to an intended device within your local network. By doing so, it creates a streamlined path for communication between the router and that device, sidestepping standard network restrictions. Utilizing port range forwarding can significantly boost the speed of data transmission and enhance connectivity by diminishing the amount of processing required by the router.
By default, routers maintain most ports in a closed state as a security measure against unauthorized external access. Certain applications and services like online gaming platforms, remote desktop interfaces, and peer-to-peer file-sharing systems necessitate these ports being unblocked to function correctly. Grasping which specific ports ought to be opened — along with their purposes — facilitates this procedure while promoting seamless operation across various functionalities.
Employing port forwarding is especially useful when trying to accelerate connection speeds or bolster performance for particular devices on your network. This optimization plays an important role in scenarios such as running Minecraft servers effectively or accessing files remotely without latency issues. It’s vital for ensuring uninterrupted internet usage during bandwidth-heavy tasks. Opening designated ports essential for programs like BitTorrent clients or certain video games permits unobstructed exchange of information across both internal networks and external sources.
Setting Up a Static IP Address
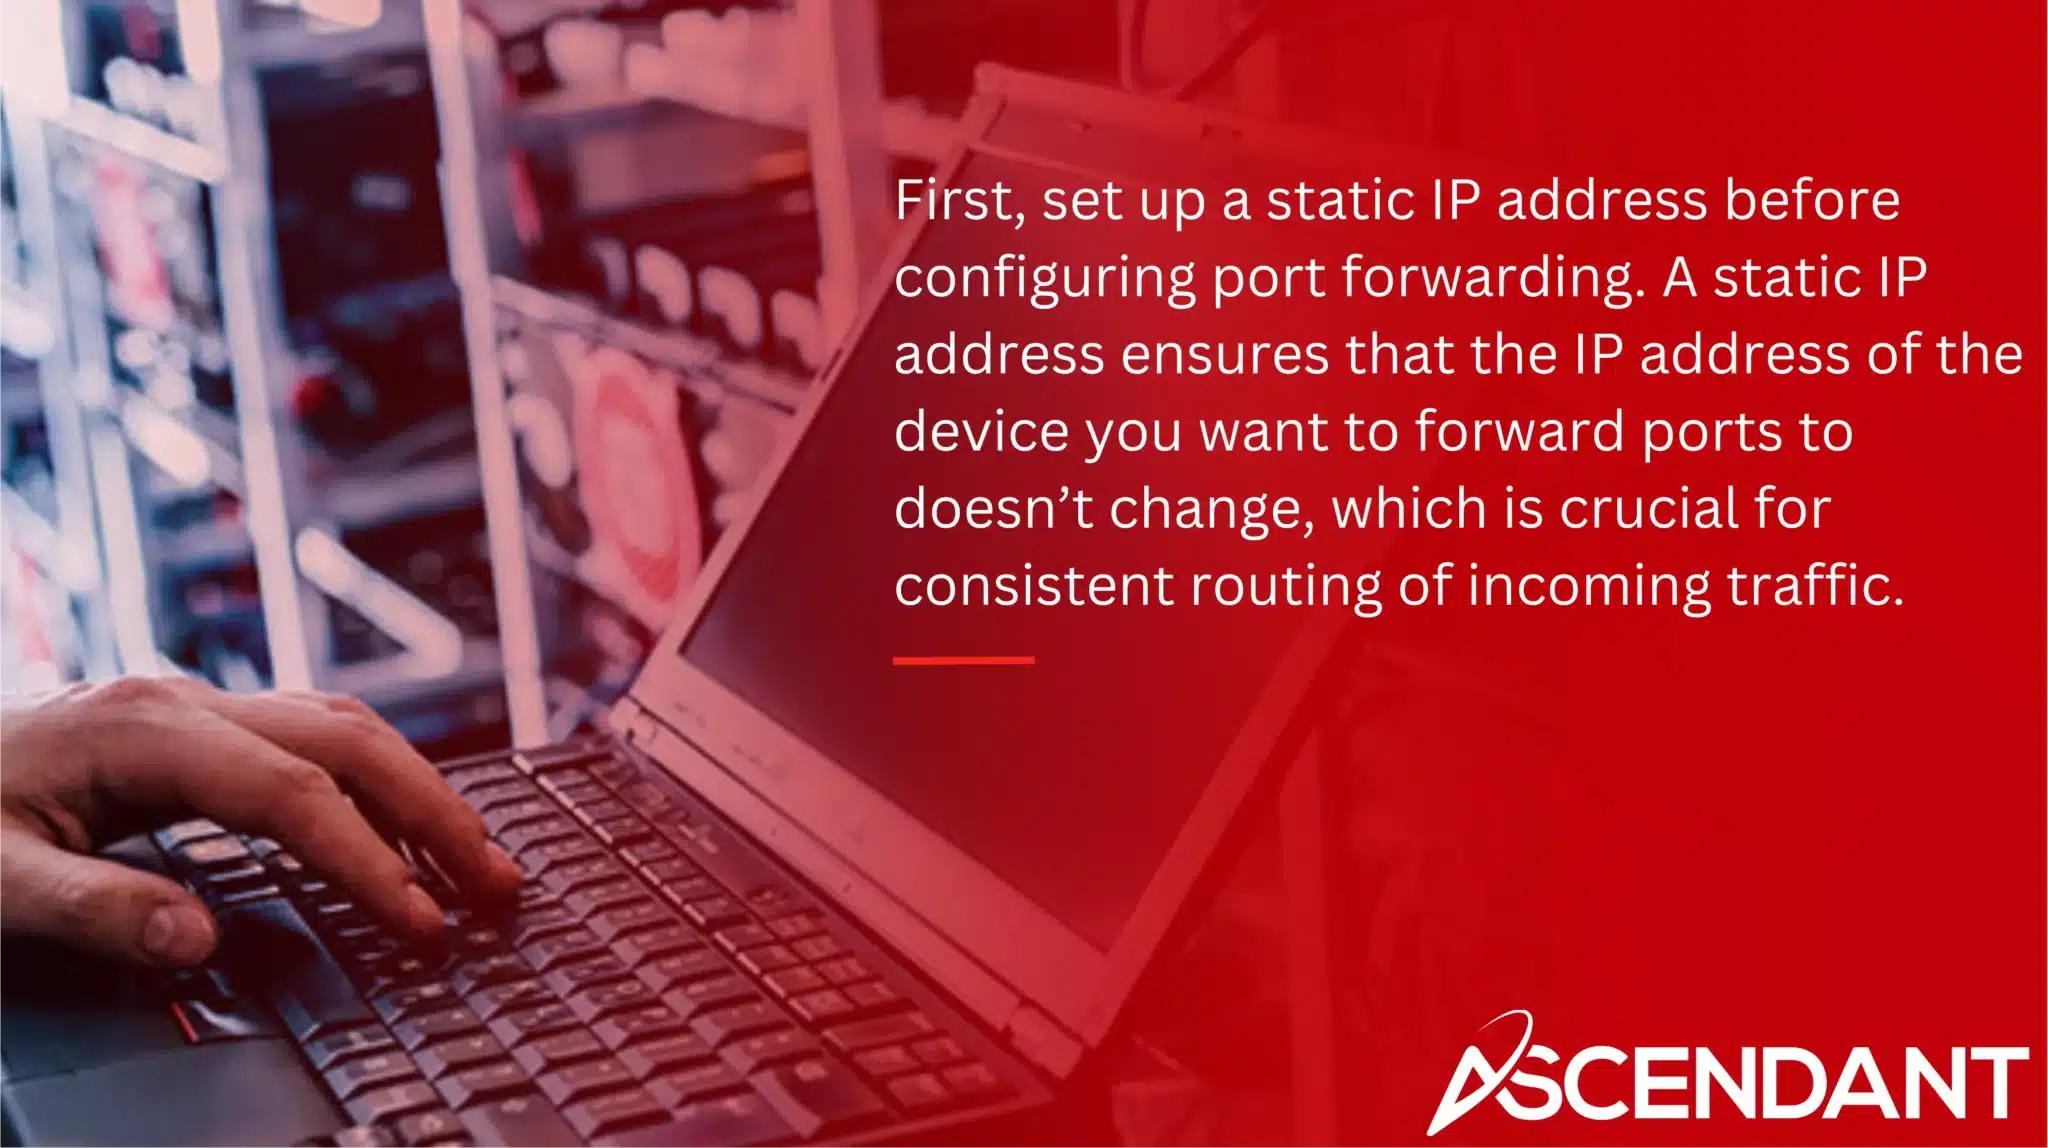
First, set up a static IP address before configuring port forwarding. A static IP address ensures that the IP address of the device you want to forward ports to doesn’t change, which is crucial for consistent routing of incoming traffic. Without a static IP, your device’s address might change when it’s turned off or the router is reset, disrupting your port forwarding settings.
There are two primary methods to set up a static IP address: assigning it directly on your computer or through your router. Each method has its benefits and is suitable for different types of devices, including those that require specific IP addresses. Both approaches are detailed in the subsections below.
Assigning a Static IP on Your Computer
To assign a static IP address to your computer, you should first determine your present IP address. Utilize the Command Prompt on a Windows machine and input the command ‘ipconfig’ to retrieve your current IP address along with additional network information essential for properly configuring a static IP.
Afterward, navigate to your network connection by right-clicking it and selecting Properties. Access the Internet Protocol Version 4 (TCP/IPv4) settings where you will manually specify your preferred private ip address, subnet mask, and default gateway. Make sure that the chosen IP address is within the same scope as your existing one yet falls outside of DHCP’s assigned range in order to prevent any addressing conflicts.
Assigning a Static IP via Router
You can assign a static IP address through your router as well. To do this, enter the IP address of your router into the address bar of any web browser and log in using the correct username and password. Once logged in, search for options labeled IP reservation or similar terms that might appear under headings like Client List, DHCP Pool, or DHCP Reservation.
To set a static IP for a specific device such as gaming consoles or smart TVs—which benefits from having consistent network identification—identify it on the list within these settings. Input the IP address you wish to allocate to that device and then ensure to save these adjustments. This method is effective for guaranteeing that particular devices consistently obtain their assigned IP addresses.
Steps to Port Forwarding
Once you have established a static IP address, proceed to set up port forwarding. Access your router’s setup interface by typing its IP address into a web browser and entering with your administrative credentials. Look for the port forwarding section within the configuration page. It might be listed under headings like ‘Port Forwarding’, ‘Applications & Gaming’, or ‘Virtual Server’ which are usually situated in advanced settings.
In the port forwarding section, input all necessary data for creating a new port forwarding rule. You’ll need to specify details such as the desired open port number, whether you’re using TCP or UDP protocol, and the internal IP address of the device that will receive incoming traffic. If you’re configuring just one entry for port forwarding, ensure that both Internal and External ports share identical numbers.
To finalize setting up your rule after filling in these specifics, select ‘Apply’ or ‘Save’. The newly created rule should now take effect immediately, facilitating direct network traffic through the chosen open portal straight to your specified equipment.
Port Forwarding on Different Routers
The process of setting up port forwarding may differ somewhat depending on the make of your router, with popular manufacturers such as Linksys, Netgear, Belkin, and Asus each offering their distinct configurations and user interfaces. The underlying steps are consistent across brands: access your router’s web-based setup page, locate its port forwarding section and input the appropriate information to execute the forward ports.
Under this text are tailored guidelines for arranging port forwarding on various models of routers. These detailed directions will assist you in applying these settings effectively no matter what kind of router you possess.
Port Forwarding on an Asus Router
To set up port forwarding on your Asus router, you’ll need to open the web interface of the router. Do this by typing the IP address of your router into your web browser’s address bar and logging in using your administrative username and password.
Once logged in, head over to the WAN settings where you can locate the ‘Virtual Server/Port Forwarding’ option within the port forwarding section. In this area, activate port forwarding and begin creating a new rule by specifying necessary information such as port numbers, protocol type, and internal IP address assigned to your device.
After inputting all required details for your configuration, make sure to save this newly established port forwarding rule so that changes take effect.
Port Forwarding on a Netgear Router
Enter the IP address of your Netgear router into your web browser to reach its web interface, and then log in. Once logged in, go to the port forwarding section where you have the option to create new custom port forwarding services by entering necessary port numbers and choosing appropriate protocols for whatever application needs them.
When setting up port forwarding on a Netgear router, it is crucial to remain cognizant of possible security threats. Make sure that the configurations you apply do not inadvertently open up your network to any vulnerabilities.
Port Forwarding on a TP-Link Router
To configure port forwarding on your TP-Link router, proceed with these detailed instructions: Log into the web interface of the router, seek out the section dedicated to port forwarding, and fill in the required information such as specific port numbers you wish to forward, select appropriate protocols for each port, and enter the internal IP address pertaining to the device that needs access.
Port Forwarding on a Belkin Router
Access the router interface for Belkin routers and proceed to the ‘Virtual Servers’ area. In this section, you have the option to create a new port forwarding rule by inputting the IP address, relevant port numbers, and protocols.
To activate port forwarding on your device, be sure to save this newly established rule so that the changes can take effect.
Verifying Open Ports
After configuring port forwarding, confirm the accessibility and openness of the ports. To determine if a port is open on your computer, command line utilities such as ‘netstat’ or ‘telnet’ can be utilized. To test for external access, you might employ tools available online that check for open ports.
It’s crucial to adjust your firewall settings appropriately while also being mindful of any security hazards associated with verifying open ports. Ensuring accurate validation guarantees that your setup for port forwarding is operating correctly.
Port Forwarding for Gaming Consoles
Port forwarding can enhance your gaming experience on consoles such as the PS4 and PS5. When setting up port forwarding, it’s necessary to know your console’s IP address, the router’s IP address, and a roster of essential ports. Typical ports used by gaming consoles are 88, 500, 3544, 4500 (UDP), and 3074 (TCP).
Additional ports may be required for various game features like voice chat services. These include but aren’t limited to ports in the range of 3478-3480 (UDP). It is crucial to ensure that the port you intend to forward is not currently being utilized by another device within your network. Verify that you have selected the appropriate protocol—either TCP or UDP—in your port forwarding configurations.
It’s important to carefully review all entered details in order to maintain an uninterrupted gaming session because incorrect assignment of a port with respect to its associated internal IP address might lead to connectivity issues.
Troubleshooting Port Forwarding Issues
Ensure that the appropriate ports are correctly forwarded and settings precisely configured should you face problems with port forwarding. If there’s an additional desktop firewall, consider disabling it to prevent any disruption in the port forwarding process.
Bear in mind that for every single instance of a port, only one port forward can be set up. Hence, inspect for any clashing rules and verify that the same port is unlocked on both your router and computer. Should you encounter a conflict involving a specific port, think about altering which port your application utilizes.
Security Considerations
The process of port forwarding can make your network vulnerable to security breaches and malware since it involves opening ports.
To lessen these dangers, you should:
- Limit the number of open ports.
- Implement robust, intricate passwords.
- Regularly update security patches.
- Activate firewalls for device protection.
Adhering to these recommendations will aid in safeguarding your network when using port forwarding.
Steer clear from utilizing factory-set passwords on your router and think about turning off Universal Plug and Play (UPnP) to minimize potential threats. By carefully managing how traffic flows through your network’s ports with port forwarding and triggering, you can enhance accessibility while keeping a secure environment.
Advanced Port Forwarding Techniques
Individuals seeking to enhance their network performance may find advanced techniques such as port triggering and virtual server port forwarding advantageous. Port triggering enables temporary opening of specified ports by the router in response to outbound traffic, which can improve performance for certain protocols.
In contrast, virtual server port forwarding establishes a connection between a public IP address and its corresponding port with an internal IP address and its specific port. This is particularly beneficial for services requiring continuous external access. By customizing your router settings through these sophisticated methods, you can shape your network to cater to precise requirements while boosting efficiency overall.
Using Dynamic DNS for Easier Access
Dynamic DNS (DDNS) is a convenient service that allows you to reach your home network using an easy-to-remember domain name instead of a constantly changing IP address. It’s especially valuable if your internet service provider gives you a dynamic IP address, which varies over time.
Before configuring Dynamic DNS, make sure your device has an active connection to the network. Then register for a hostname with any DDNS service provider, effectively tying this hostname to an accessible web address for your device. For continuous synchronization between the shifting public IP and the chosen hostname, install software known as Dynamic DNS update client on your device.
Implementing this arrangement simplifies remote connections to services such as remote desktop access or home security systems within your network by bypassing the need for dealing with ever-changing IPs when connecting from different locations.
Summary
Well done! You’ve navigated the complexities of port forwarding with finesse. By mastering both the fundamental concepts and learning how to establish a static IP address, along with setting up port forwarding across various routers, you’re now equipped to elevate your network’s functionality. Always prioritize security as you check that the appropriate ports are open for activities such as gaming on consoles.
With these strategies in place, look forward to an enhanced and smoother network performance. Port forwarding opens new doors whether it’s for running a game server from home, remotely accessing your network or simply improving internet connectivity speed. Embrace this potent networking feature and enjoy its benefits—wishing you great success in all your networking endeavors!
 Frequently Asked Questions
How do I get port forwarding?
Getting port forwarding is straightforward: log into your router by typing its IP address in your browser, find the port forwarding section, enter the necessary port numbers and your device’s IP address, then save your changes.
Just ensure to choose the correct protocol (TCP or UDP) and you’re good to go!
What is port forwarding, and why do I need it?
Port forwarding is simply directing traffic through your router to a specific device on your network, which is crucial for things like online gaming and remote access.
If you want a smoother experience with these applications, you need port forwarding!
How do I set up a static IP address?
To set up a static IP address, you can either configure it on your computer by entering the desired IP in your network settings or do it through your router’s configuration page using IP reservation.
Just make sure to choose an IP outside your DHCP range to avoid conflicts!
Why are most ports closed by default on my router?
Most ports are closed by default to keep your network secure from unauthorized access.
You can open specific ports as needed, but it’s crucial to balance functionality with security.
How can I verify if my port forwarding setup is working?
To check if your port forwarding is working, use an online port checker or command line tools like ‘netstat’ or ‘telnet’.
Just make sure your firewall settings are properly configured!