
Struggling to connect your printer to WiFi? You’re in the right place. In this guide, we’ll walk you through the simple steps on how to connect printer to wifi and get any printer connected to your wireless network. Read on to find out how to connect your printer to WiFi and start enjoying the convenience of wireless printing.
In This Article:
- Preparing Your Printer for WiFi Connection
- Using the Wireless Setup Wizard
- Connecting via WPS (Wi-Fi Protected Setup)
- Manually Entering Network Details
- Installing Printer Drivers
- Adding Your Printer to a Computer
- Setting Up Mobile Devices for Wireless Printing
- Testing Your Wireless Printer
- Troubleshooting Common Issues
- Benefits of Wireless Printing
Key Takeaways
- Ensure your printer supports WiFi and prepare it for connectivity by placing it near the router and enabling wireless mode.
- Use the Wireless Setup Wizard or WPS for easy connection, but be ready to enter details manually if these methods fail.
- Install the correct printer drivers and add the printer to your computer or mobile device to enable seamless wireless printing.
Preparing Your Printer for WiFi Connection
To get started with wireless printing, it’s important to confirm that your printer is capable of connecting to a WiFi network. You can do this by consulting the user manual or checking for a Wi-Fi symbol on your device, ensuring it has wireless capabilities. Identifying whether your printer supports wifi connectivity from the outset can help avoid unnecessary trouble later.
For optimal performance and to prevent any issues related to connection strength, position your printer in close proximity to the wireless router. This location choice helps guarantee robust signal reception for uninterrupted printing activities. After placing the printer suitably near the router, power up the device and activate its wireless function—usually signified by an illuminated Wi-Fi icon or indicator on its panel.
Proceed by accessing your printer’s settings interface and choosing the option for Wi-Fi setup. This action gears up your device for integration with your home or office’s existing wireless network infrastructure. With these preparatory steps completed, you have effectively prepared both printers and routers alike—paving the way towards finalizing their wi-fi interconnection within said wifi networks successfully.
Using the Wireless Setup Wizard
The Wireless Setup Wizard offers a streamlined approach to connect your HP printer to your wifi network. For printers equipped with a touchscreen, the wizard is accessible through either the Setup or Network menus and will lead you step by step to establish a connection.
When utilizing the setup wizard, choose your wireless router from an array of available networks presented on-screen. You’ll be prompted to input both the name of your WiFi network and its password in order for the printer to link up with it successfully. If there’s no touchscreen present on your device, connecting it temporarily to a local network might be required so that you can run this wizard.
Should any issues arise during setup like failure in detecting the printer or losing its existing connection, initiating WiFi setup mode again could resolve these problems by refreshing all related settings, thereby ensuring that your network recognizes the printer once again. The process designed by this Wireless Setup Wizard intends for an easy and efficient way to integrate your printer into a wireless networking environment.
Connecting via WPS (Wi-Fi Protected Setup)
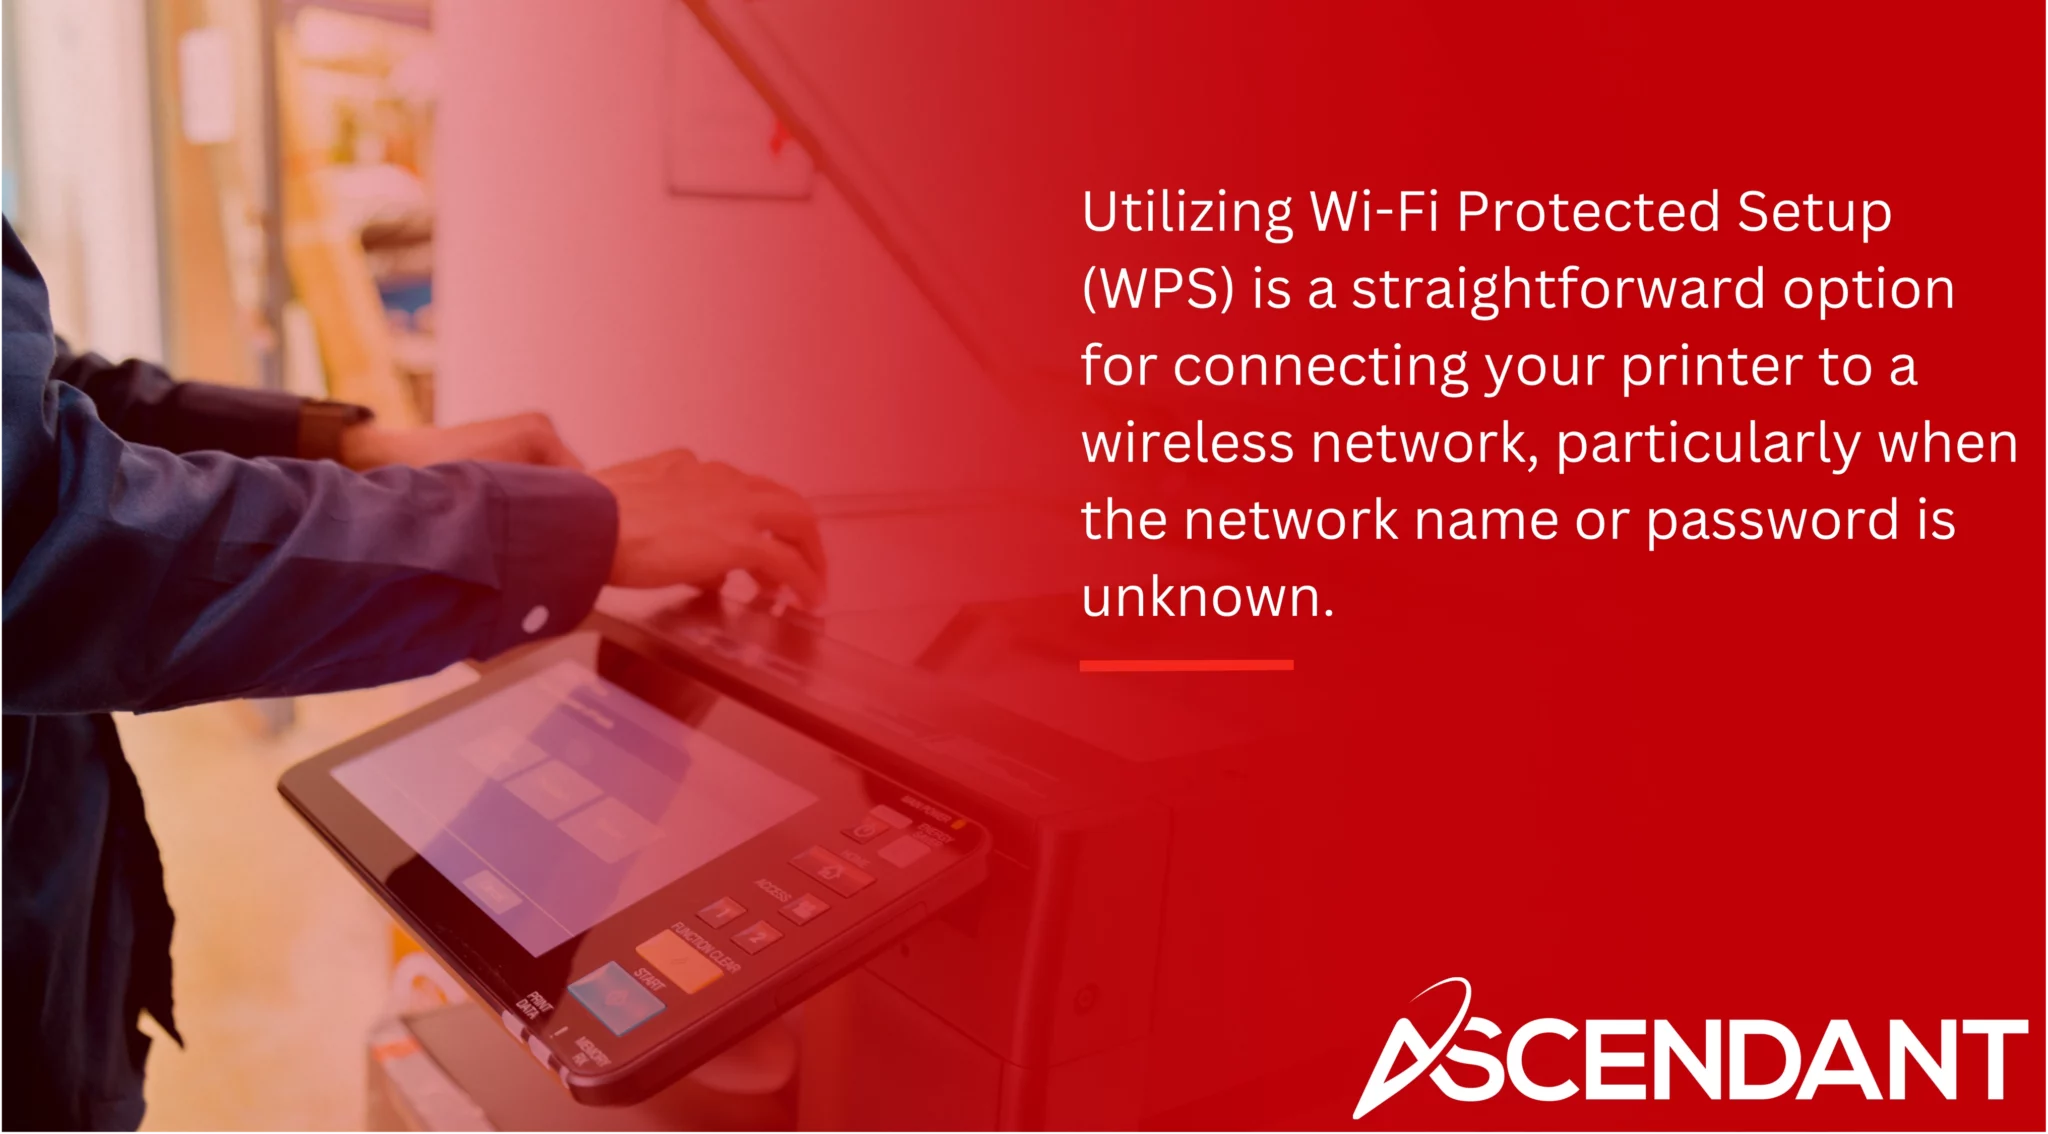
Utilizing Wi-Fi Protected Setup (WPS) is a straightforward option for connecting your printer to a wireless network, particularly when the network name or password is unknown. Prior to initiating this setup, confirm that WPS functionality is supported by your wireless router.
To begin connection via WPS, press the designated button on your router. Then promptly proceed—within two minutes—to press and sustain pressure on both the Bluetooth and Wi-Fi buttons on your printer for approximately five seconds in order to engage the WPS mode. You will witness an indication of successful connectivity as observed by the blinking followed by stabilization of the Wi-Fi light located on your router.
Omitting any requirement for manual entry of a network password renders this method favored due to its simplicity and ease in establishing connections. Once successfully connected through this wireless channel, you are all set up with print wirelessly at hand. Your printer now stands ready to manage incoming print jobs over its newfound wi-fi connection.
Manually Entering Network Details
Should automated procedures prove unsuccessful, a surefire alternative is to manually input your network credentials. Initiate this process by going into the menu on your printer and finding the section dedicated to network configurations. At this juncture, you must provide both the name of your wifi network (also known as SSID) and its associated password.
Ensure that while entering these details, you also choose the appropriate security protocol for your network, options such as WPA or WPA2 are commonplace. After all necessary information has been keyed in, proceed to validate these settings so that your printer can begin attempting a connection with the specified network. Manually configuring ensures that your printer connects accurately to the intended WiFi network and mitigates any risk of erroneous connections.
Installing Printer Drivers
For optimal printer performance and connectivity, it is essential to have the correct drivers installed. First, check that your printer’s firmware is current. Outdated versions can lead to connection issues. Most producers of printers such as HP offer up-to-date software on their websites.
Next, you should install this software onto your computer. Choose the wireless or WiFi option during installation for a cordless connection with the printer. Follow all directions provided on screen carefully—opting for a wireless LAN setup when asked.
Mac users often need to add their printers via Printers & Scanners preferences in macOS, which usually defaults to AirPrint once a compatible device has been added successfully. By doing so, you ensure that your print jobs will proceed without issue from any application.
Adding Your Printer to a Computer
Regardless of whether you are on a Mac or Windows system, configuring your printer is crucial. On a Mac, it might be necessary to first connect the printer using a USB cable before going into Printers & Scanners settings to add the device. Should the printer not automatically show up in this section, its IP address can be entered manually.
For those with Windows computers, adding their printing device involves navigating through the Control Panel where they must click on ‘View devices and printers’ followed by selecting ‘Add a printer’. In scenarios where auto-detection fails, employing the manufacturer’s provided software is advised. This facilitates an effective setup process and confirms that all configurations for your printing needs have been adequately established.
In situations applicable to both types of operating systems, when wireless devices do not present themselves in readily accessible lists, inputting the specific IP address assigned to them could bridge this gap. Consequently, aligning computer connectivity with these printing units makes way for seamless wireless output of documents and images.
Setting Up Mobile Devices for Wireless Printing
Wireless printing offers the advantage of enabling computers and mobile devices to effortlessly execute print jobs. This functionality is also available for smartphones and tablets, permitting users to initiate prints directly from their handheld devices. To harness this capability, it’s important that your printer maintains a connection with the same WiFi network as your computer or mobile device.
For those utilizing iOS gadgets, AirPrint simplifies the connection process by allowing you to select a printer right from within the print dialog — assuming both your device and printer are on an identical network. In certain instances where network printers are concerned, setting up a configuration profile may be necessary for recognition purposes.
Alternatively, Android proprietors have access to Default Print Service for convenient wireless printing connectivity—just make sure that both devices share the same WiFi network. By choosing ‘print’ in any compatible app and selecting your desired printing apparatus from a roster of connected machines, one can transmit print jobs directly using their Android device. Thereby streamlining productivity with improved ease-of-use.
Testing Your Wireless Printer
Upon successfully installing your wireless printer, verifying the connection is essential. Ensure that both Bluetooth and Wi-Fi signals on the printer are displayed with green lights to signify a successful link. To ascertain complete functionality, execute a printing task from any device that’s linked to it. Undertaking print tests from various devices assures you of consistent operation across all connected equipment.
Should there be an issue where the printer isn’t listed during your attempt to print, consider rebooting either the mobile apparatus or the printer itself. At times, issues related to connectivity may be remedied by resetting your router or double checking that both device and printer share the same network affiliation. Thorough testing guarantees preparedness of your wireless printing setup for all upcoming tasks requiring printed output.
Troubleshooting Common Issues
If you encounter connection problems, even after an effortless installation process, resetting the network settings of your printer may help. It’s important to regularly update the firmware of your printer since outdated versions can lead to connectivity problems.
Troubleshooting can be difficult with most printers as they do not have a clear indicator for signal strength. If consistent issues continue, executing a factory reset on your printer could eliminate all existing settings and facilitate starting anew with setting up the connection. This approach often clears up persistent network problems and reinstates peak functionality.
Benefits of Wireless Printing
Investing in wireless printers comes with a multitude of advantages, enhancing both convenience and efficiency. These printers facilitate the ability to print from numerous computers without the need for physical file transfers, offering significant mobility benefits by allowing users to execute their printing tasks remotely.
The adoption of wireless printing also contributes to a tidier work environment as it dispenses with the necessity for an array of cables and complex networking infrastructure. It bolsters collaborative efforts by permitting several individuals to seamlessly print from different locations, circumventing potential holdups.
With state-of-the-art functionalities such as mobile printing capabilities and options that enable sending documents directly via email to the printer, these advancements amplify the allure of wireless printers. They stand out as indispensable instruments within contemporary workflows that prioritize speed and productivity.
Summary
To summarize, the process of installing a wireless printer is relatively simple and can greatly improve your printing capabilities. This guide has provided instructions on everything from getting your printer ready and utilizing the Wireless Setup Wizard to resolving any potential problems. By adopting wireless printing, you can make your home or office space much more productive by offering convenience and adaptability in how you print documents.
 Frequently Asked Questions
How do I know if my printer supports wireless printing?
To see if your printer supports wireless printing, check the manual or look for a WiFi symbol on the printer itself.
If you find it, you’re good to go!
What should I do if my printer cannot connect to the WiFi network?
If your printer can’t connect to WiFi, resetting the network settings and updating the firmware can often fix the issue.
Give that a try and see if it helps!
Can I print from my smartphone or tablet?
Absolutely, you can print wirelessly from your smartphone or tablet!
Just make sure you have a compatible printer and the necessary app installed.
What is Wi-Fi Protected Setup (WPS)?
Wi-Fi Protected Setup (WPS) lets you easily connect devices like printers to your wireless network without needing to know the network name or password.
It’s a simple way to get things connected quickly!
How do I test if my wireless printer is properly connected?
To test if your wireless printer is properly connected, simply print a test page from your device and check the printer’s indicator lights for any issues.
If it’s printing fine and the lights are good, you’re all set!