Looking to learn how to upgrade to Windows 11? First, check if your PC meets the system requirements. Then, choose between updating via Windows Update, downloading the Installation Assistant, or creating installation media. This guide will cover all these methods step-by-step for a smooth upgrade process.
Key Takeaways
- Before upgrading to Windows 11, ensure your PC meets specific system requirements, including TPM 2.0 and Secure Boot for a smooth installation.
- There are several methods to upgrade to Windows 11, including using Windows Update, the Installation Assistant, or creating installation media, each offering different benefits.
- For users with older hardware, Rufus can be employed to bypass certain compatibility checks, although this may introduce security risks.
Verify System Requirements for Windows 11
Ensure that your computer fulfills the hardware requirements for Windows 11 before attempting an upgrade. This precautionary measure is crucial to avoid complications and secure a seamless transition during installation. The system requirements necessary to upgrade to Windows 11 are distinct from those of its predecessors.
For the successful upgrade to Windows 11, TPM (Trusted Platform Module) version 2.0 is essential as it enhances data security and facilitates a secure boot process. To activate TPM, navigate through your BIOS settings—often located under Security options—and utilize the Tpm.msc command to confirm activation status. Enabling Secure Access. Booting into your computer’s firmware settings is mandatory for upgrading. Check this setting’s current status using the System Information tool.
Your PC must also house a processor compatible with specific CPU instruction sets such as SSE4.2 and PopCnt, which are vital for running Windows 11 efficiently. Utilize Microsoft’s PC Health Check app to verify if your device aligns with these demands—an indispensable step towards ensuring you can successfully complete an upgrade to windows environment latest iteration.
Using Windows Update to Upgrade
The most straightforward approach to upgrading is through Windows Update, which enables a smooth transition to the new operating system without compromising your personal files or altering settings. To determine if Windows 11 is available for your current Windows version, go to Start > Settings > Update & Security > Windows Update and click on ‘Check for updates’. A notification will inform you when your device can proceed with the upgrade.
Before moving forward with the process, it’s important to await this notification. By visiting the Windows release health hub, you can discern any existing issues that might impact your device during an update. Ensure that you have a reliable internet connection as it is essential for downloading updates and successfully completing the upgrade process.
Once downloaded, continue by following along with setup prompts after installation. By using this method of updating, not only do compatibility concerns get mitigated, but also all necessary drivers and applications are automatically updated alongside ensuring they work optimally in conjunction with upgraded systems like windows 11.
Installing Windows 11 with the Installation Assistant
Should Windows be used? Update proves inadequate for your needs, the Installation Assistant serves as an outstanding alternative to execute a system upgrade. You can easily obtain this handy tool by downloading it from Microsoft’s official website.
Initiating the installation assistant and following its step-by-step instructions will enable you to carry out a comprehensive upgrade of Windows. The installation assistant evaluates your system’s compatibility while preserving all your existing files and applications, thus preventing any loss of data throughout the upgrading period.
Employing this method is exceptionally straightforward and accessible, making it an ideal solution for those less familiar with technological processes. By simply following along with the provided prompts and relying on the guidance offered by the assistant, users can effortlessly navigate through enhancing their operating system.
Creating a Windows 11 Installation Media
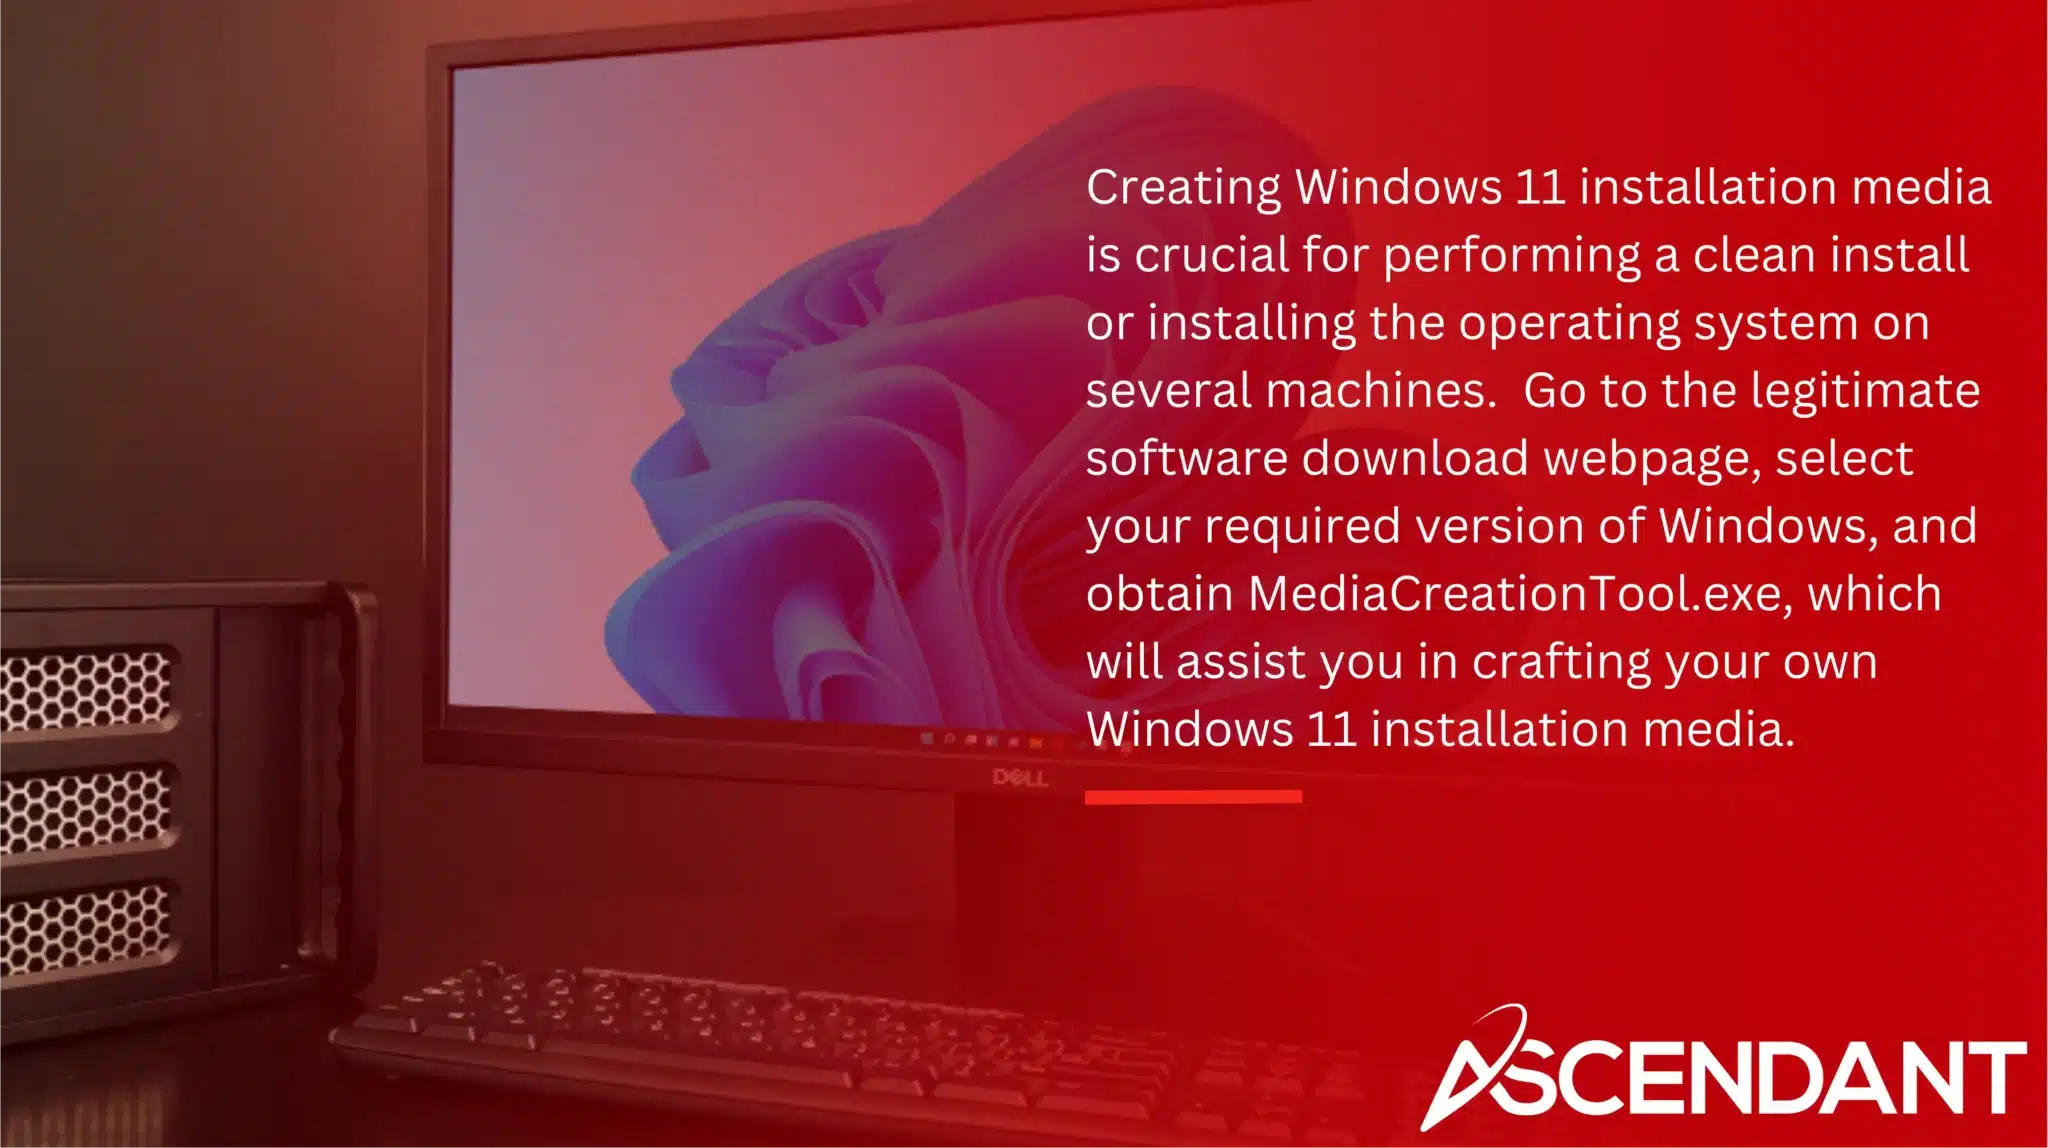
Creating Windows 11 installation media is crucial for performing a clean install or installing the operating system on several machines. Go to the legitimate software download webpage, select your required version of Windows, and obtain MediaCreationTool.exe, which will assist you in crafting your own Windows 11 installation media.
For downloading the files needed, ensure that there’s a reliable internet connection at hand. A blank USB flash drive with no less than 8GB capacity or an empty DVD (also minimum of 8GB) plus a DVD burning device are prerequisites for this task. Opt for using a USB flash drive. Be advised that all contents will be wiped out during this procedure.
Upon successful creation of the installation media, initiate the setup process by running the setup exe file included within it. This approach serves well especially for users with advanced technical knowledge or those who want to start anew by conducting a pristine install of Windows 11.
Downloading and Using the Windows 11 ISO File
If you desire more control during the installation procedure, utilizing the Windows 11 ISO file is an excellent choice. Navigate to the Download Windows 11 webpage, select ‘Windows 11’ under the ISO section, opt for your language preference and then click on ‘Download’.
Once you have downloaded it, proceed by double-clicking on the ISO file which will mount it within File Explorer. Then initiate the upgrade process by double-clicking on setup.exe. At this juncture, a screen titled ‘Ready to Install’ will display confirming that you are prepared to install Windows 11 while ensuring that all personal files and applications remain intact.
Employing this technique is particularly beneficial for those who require having access to a complete installation package at their disposal—convenient for conducting multiple installations or when troubleshooting is necessary.
Bypassing Compatibility Checks with Rufus
At times, your computer may not align with the official hardware requirements set forth for Windows 11. Under these circumstances, you can utilize Rufus to circumvent these system prerequisites. Before proceeding, make sure you have a USB flash drive with a minimum capacity of 16 GB after downloading Rufus.
When using Rufus to forge a bootable installer that skirts around stipulations such as TPM 2.0 and Secure Boot, it’s crucial that within the application’s interface the Device field accurately reflects your connected USB drive before initialization begins. Once the creation of this installer is complete through Rufus, navigate into File Explorer to locate this USB device and initiate setup by double-clicking on the Setup file contained therein.
Employing this tactic proves beneficial when dealing with older computers incapable of meeting newer hardware standards yet sufficiently capable of running Windows 11 effectively.
Performing a Clean Install of Windows 11
Initiating a fresh installation of Windows 11 is ideal for peak system performance. Ensure that you have backed up all your personal files, including drivers, because this approach will completely wipe the existing contents on your device. Create the required installation media and then configure your computer’s BIOS to initiate booting from the USB or DVD drive.
When deploying the installation media, begin by setting preferences such as language, time zone, and keyboard input within the Install Windows interface. Opt for ‘Custom: Install Windows only (advanced)’ when prompted to choose an install type in order to execute a clean install. In case there are remnants from an old operating system on your chosen partition, those will be relocated into a directory named “Windows.old”. It’s also important to note that multiple methods exist for installing windows which one might explore.
For devices already assigned with digital licenses, entering a product key during setup may not be necessary. Employing this procedure ensures that you receive an unencumbered new start without unnecessary software applications or lingering old files – providing pristine groundwork for operating under Windows 11.
Troubleshooting Common Issues During Upgrade
Transitioning to Windows 11 may occasionally face roadblocks due to hardware limitations. Issues often arise from non-compliance with TPM and Secure Boot configurations. The release of Rufus version 4.6 provides a streamlined solution for circumventing these hardware compatibility assessments during the installation.
For those experiencing difficulties, Rufus offers invaluable assistance by enabling upgrades on legacy computers that lack TPM or have processors not officially supported by Windows 11. Yet, it’s important to recognize that sidestepping the installation prerequisites of Windows 11 could introduce security vulnerabilities, which is particularly concerning for businesses operating on antiquated systems.
Addressing these prevalent problems can alleviate unnecessary delays and aggravation, facilitating an efficient transition to the newer operating system.
Summary
Upgrading to Windows 11 doesn’t have to be a complicated process. By verifying your system requirements, using Windows Update, the Installation Assistant, or creating installation media, you can ensure a smooth transition to this new operating system. Keep in mind the various methods and tools available, like Rufus, for bypassing compatibility checks if needed. Ready to experience the new features and improvements of Windows 11? Let’s make the upgrade together!
 Frequently Asked Questions
How can I check if my PC meets the system requirements for Windows 11?
You can easily check if your PC meets the system requirements for Windows 11 by using the PC Health Check tool provided by Microsoft.
This tool will help you determine if your device is compatible or if it needs any upgrades.
What should I do if Windows Update doesn’t show the option to upgrade to Windows 11?
If Windows Update doesn’t provide the option to upgrade to Windows 11, you can either use the Installation Assistant or create installation media for the upgrade.
These methods will allow you to install Windows 11 directly.
Can I keep my personal files and apps when upgrading to Windows 11?
Yes, you can keep your personal files and apps when upgrading to Windows 11 using the Installation Assistant or the ISO file method.
Ensure to follow the upgrade process carefully to maintain your data.
What is Rufus, and how does it help in upgrading to Windows 11?
Rufus is a utility that enables the creation of bootable USB installers, facilitating the upgrade to Windows 11 by bypassing TPM and Secure Boot prerequisites.
This allows older PCs to successfully install the latest operating system.
How do I perform a clean install of Windows 11?
To perform a clean install of Windows 11, back up your personal files, create installation media, adjust your BIOS settings to boot from it, and choose ‘Custom: Install Windows only (advanced)’ during the installation.
This ensures a fresh start for your system.